Drawing Fields Manually |

|

|
|
Drawing Fields Manually |
|
|
Drawing Fields Manually |
|
|
|
Drawing Fields Manually |
|
|
|
|
||
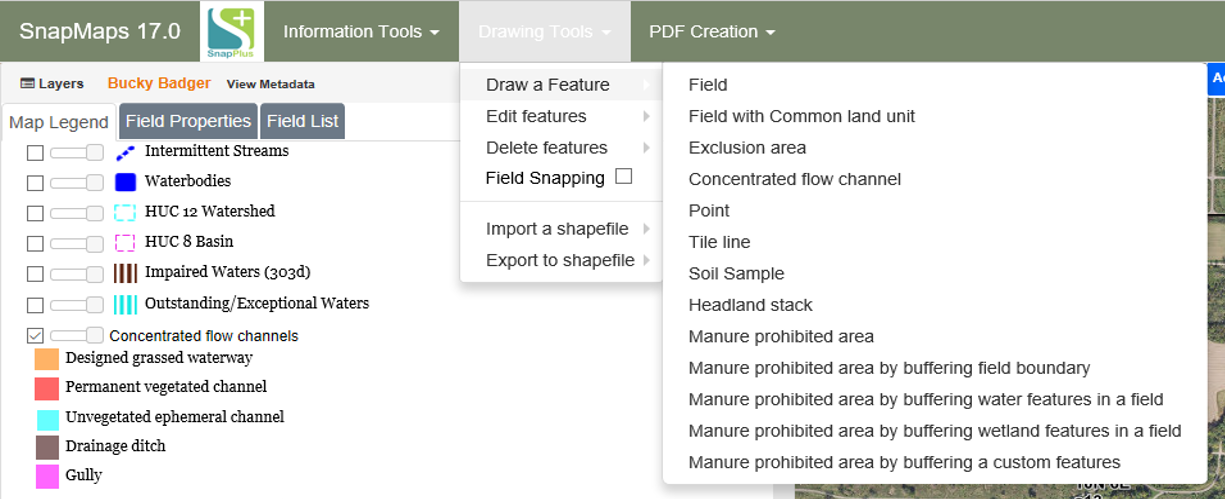
To enter fields manually, select the Drawing Tools menu from the top left part of the web page and select Draw a Feature | Field.
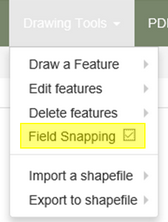
The draw field tool is now active. You can now click on the screen to draw your field. To use the feature that makes adjacent field boundaries line up together, click the check box under Drawing Tools that says Field Snapping. With this enabled, when you are drawing and you come close to an existing field, the drawing tool will snap to the existing boundary. This helps keep field boundaries from overlapping.
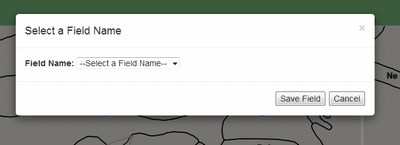
Create your field boundary by clicking the mouse around the perimeter of the field. To start over, press the Esc key. To finish, either click again on the first point of the field, or double-click the mouse on the last corner. A box with a dropdown of the field names uploaded from SnapPlus should now display. Either select a name from the dropdown or enter a new name by selecting Add name not in list. Click Save; the field’s outline should be visible on the map, labeled with its name.
Please refer to the video tutorial on Drawing Field Boundaries in SnapMaps for more information.