Delete Geometry for Updating Boundaries |

|

|
|
Delete Geometry for Updating Boundaries |

|

|
|
|
||
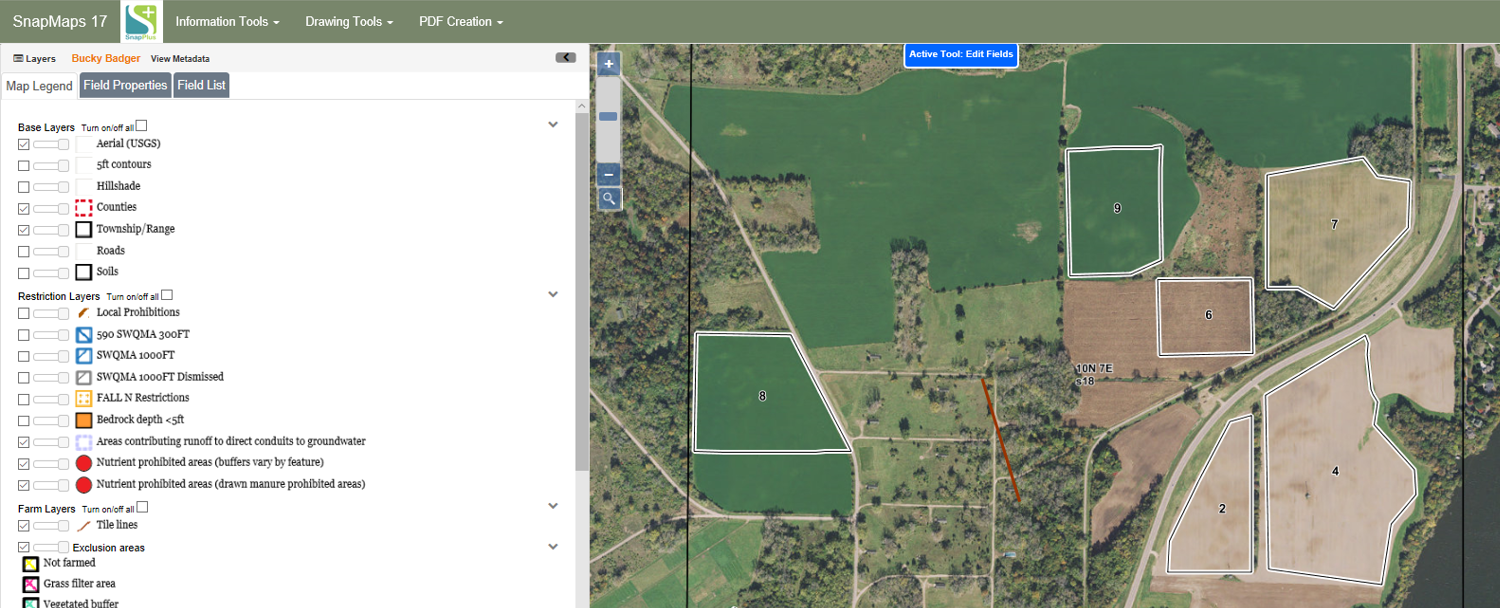
The Delete Geometry for Updating Boundaries tool is useful for the user when they would like to update new boundaries of a field, or multiple fields using a new shapefile. This is especially useful when the geometry of the field has changed from the past year and the user has made a new shapefile that they can upload into the program.
Open the farm you would like to update in SnapMaps.
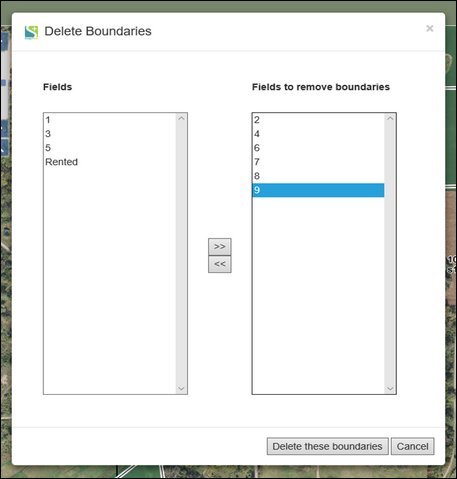
Click on Draw Tools | Delete Features | Delete Geometry for Updating Boundaries. A Delete Boundaries box will pop up. Transfer the Fields you would like to update by moving them to the right in the Fields to remove boundaries box. Click on Delete the boundaries after all fields are selected.
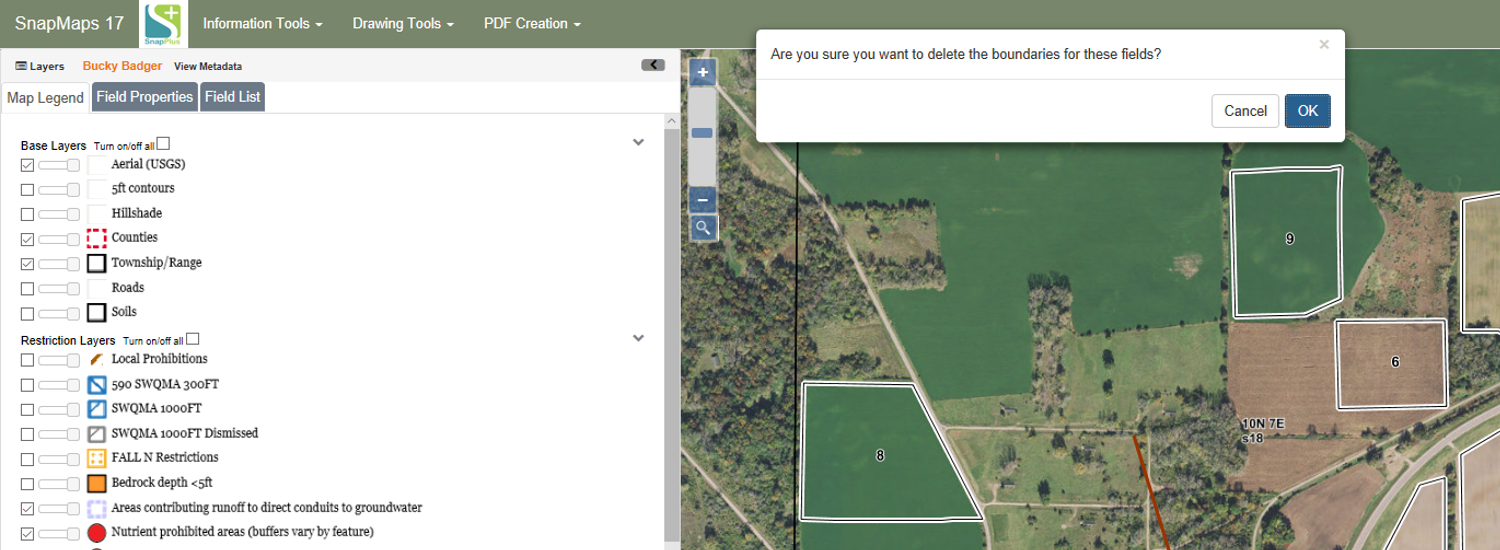
A pop up box will come up asking if you are sure you would like to delete the boundaries of these fields, Click OK.
The fields you selected will disappear on the map.
To Update these deleted fields, import the new shapefile. Click on Drawing Tools | Import a Field Shapefile | Select a Zipfile.
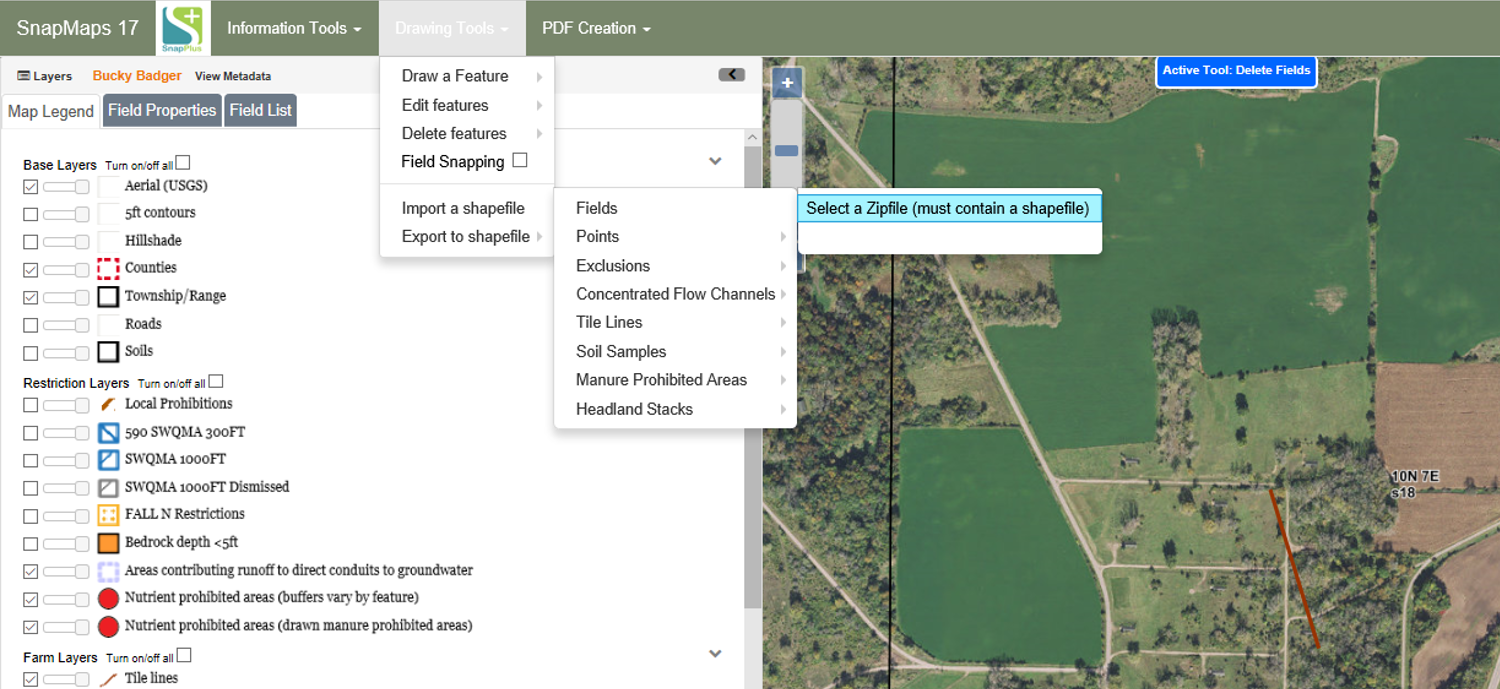
An Open Box will appear. Navigate to the saved shapefile. Make sure you are selecting the same fields you deleted. Be aware, if you do upload fields that were not deleted the fields will overlap. Only upload the ones you have previously deleted. Click Open.
A Select a field in the Shapefile for field name box will pop up. Check the box, Farm field names included as attribute in shapefile. Select Import Shapefile.
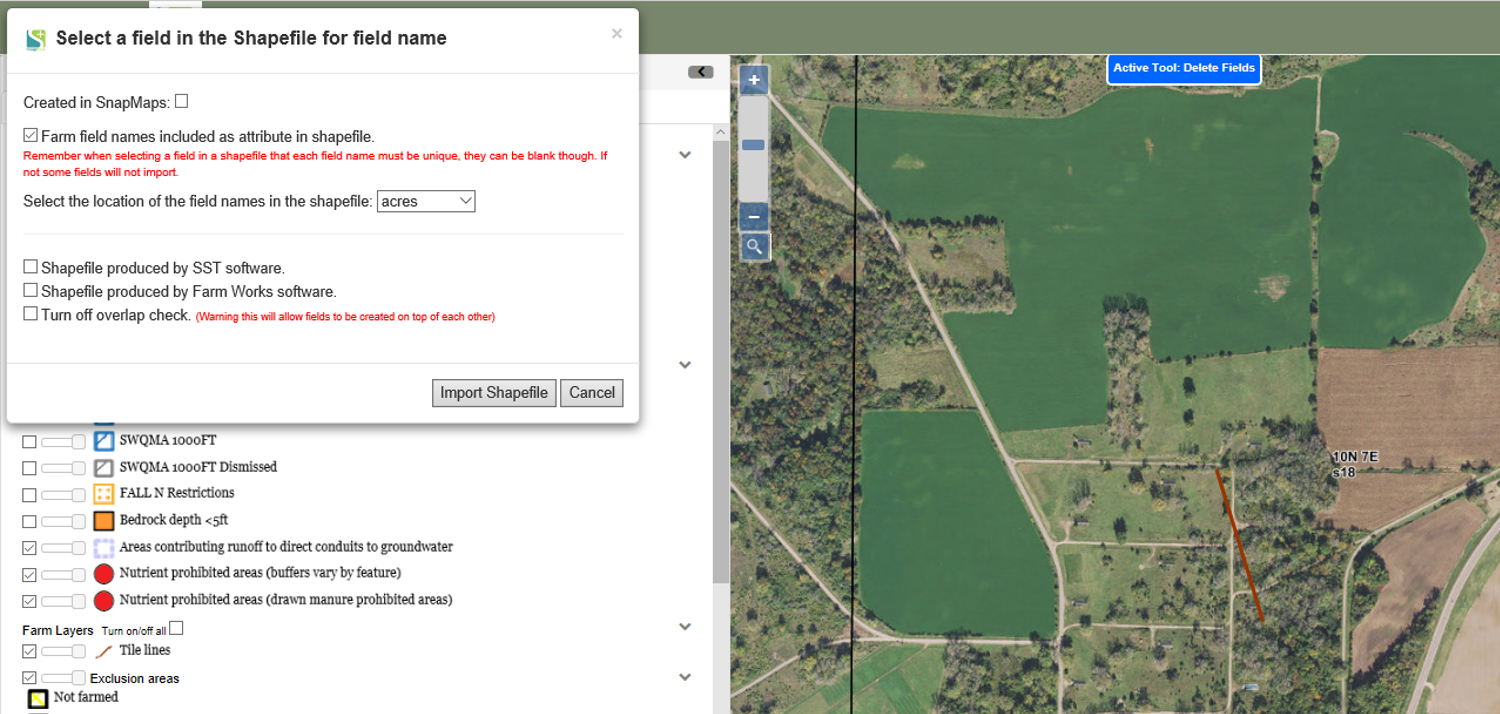
SnapMaps will upload the new shapefile. This may take a few minutes. A box will pop up telling you when the upload is complete. Click OK.
The fields deleted should now have updated boundaries.
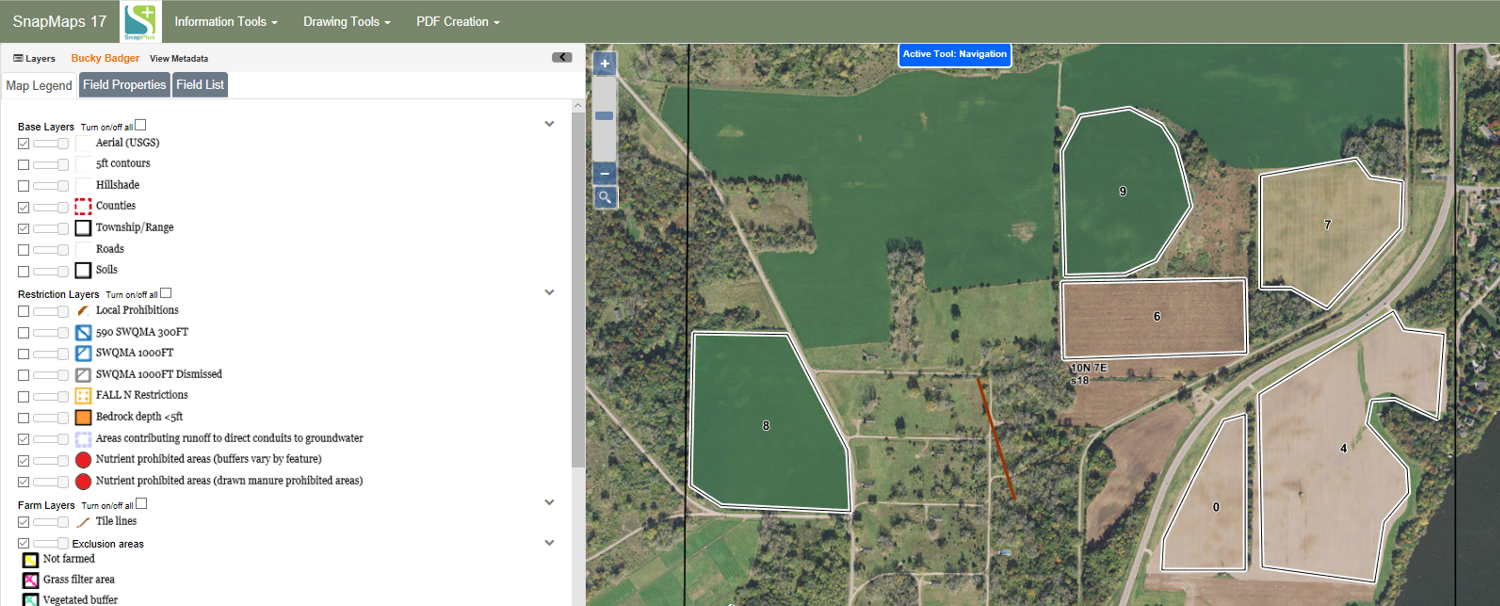
For more information, please refer to the video Updating New Boundaries in a Field Using New Shapefile.