Repairing a SnapPlusV2 Installation |

|

|
|
Repairing a SnapPlusV2 Installation |
|
|
Repairing a SnapPlusV2 Installation |
|
|
|
Repairing a SnapPlusV2 Installation |
|
|
|
|
||
Sometimes a SnapPlus installation goes awry, and needs to be repaired. This process does not affect your farm or shared data, but will reinstall any missing or broken parts of the SnapPlus software itself.
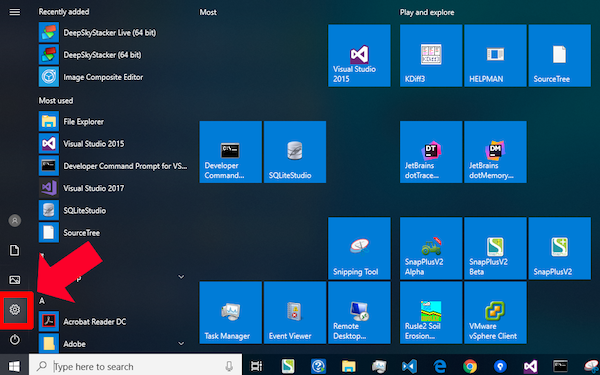
Press the Windows key on your keyboard, or click on the Windows icon at lower left to bring up the Start Menu. Click the "gear" ("Settings") icon.
From the Windows Settings dialog, click Apps. (Various versions of Windows may have different names for this, such as Programs and Features)

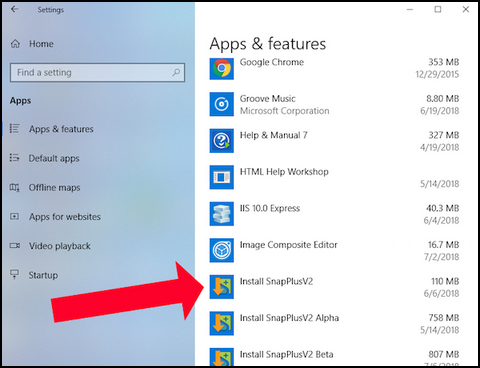
Scroll down through the list of apps until you find SnapPlusV2. Note that for every SnapPlusV2 installed on a machine, there will be a separate entry in the list called "Install SnapPlusV2". Usually you DON'T want this one; scroll past it.
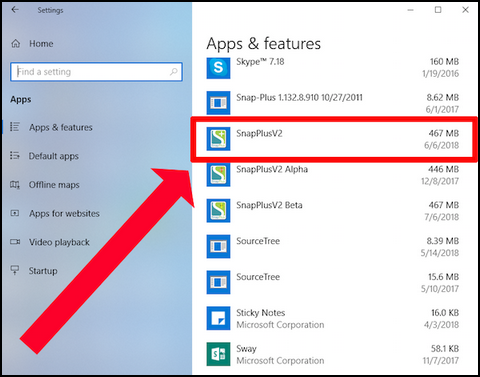
Note that there may be other SnapPlusV2 programs installed; here, both the Alpha and Beta versions are installed too. Unless you need to repair the Alpha or Beta, click SnapPlusV2.
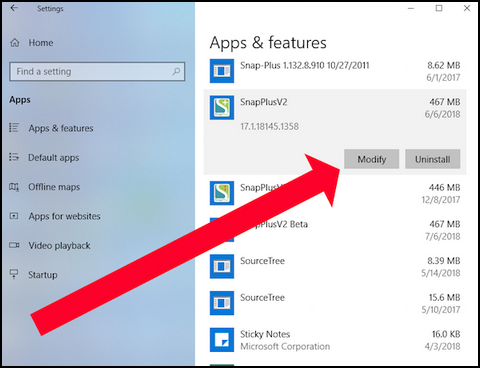
"Modify" and "Uninstall" buttons appear. Click "Modify".
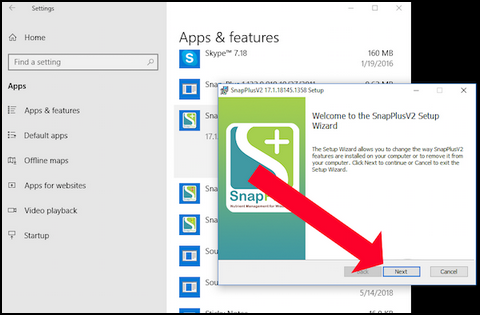
The SnapPlusV2 Setup Wizard appears. Click "Next".
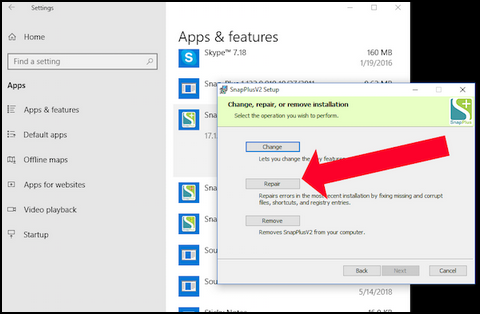
The Change, Repair, or Remove Installation pan appears. Click "Repair".
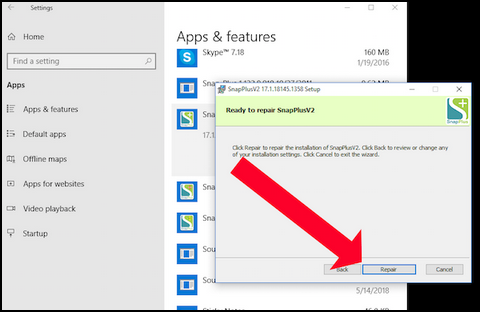
The Ready to Repair pane appears. Click "Repair".
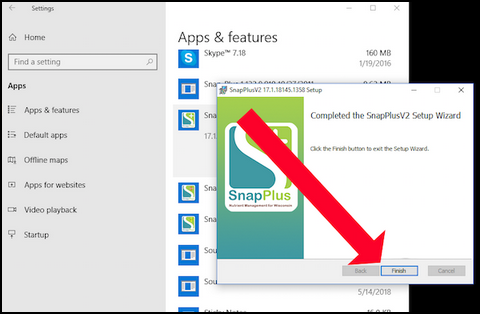
When the progress indicator reaches completion, the Completed the SnapPlusV2 Setup Wizard pane appears. Click "Finish".
Close the Settings dialog. Your SnapPlusV2 installation repair is complete.