Using the Easy Group Builder |

|

|
|
Using the Easy Group Builder |
|
|
Using the Easy Group Builder |
|
|
|
Using the Easy Group Builder |
|
|
|
|
||
The Easy Group Builder is a new feature where you can create new groups or Excel reports based on the criteria of your choosing. It can be accessed from either the Groups tab or the Tools menu.
Step by Step Instructions to Create a Group
Step 1: Open the Easy Group Builder either by clicking the button on the Groups tab or selecting it from the Tools menu.
Step 2: Select the criteria you want to display from the list of options in the left pane. There are 6 categories of criteria (Field Information, Field Restrictions, Groups, Fertilizer Applications, Manure Applications, and Crop Management). Each category may be expanded to display more criteria. For instance, Field Information can be expanded to display Subfarm, Acres, and Slope, among other criteria. You may select any number of criteria.
Step 3: Click the Search button in order to display your fields and the criteria you have chosen in the right pane. Fields that do not have information for your selected criteria will not appear.
Step 4: Filter your fields down. You can click the ![]() button in each column header to get a list of filter options for that column. You can also sort from this button, to make viewing your results easier for you.
button in each column header to get a list of filter options for that column. You can also sort from this button, to make viewing your results easier for you.
Step 5: Create a new group by clicking the Create Group button.
Step by Step Instructions to Create an Excel Report
Step 1: Open the Easy Group Builder either by clicking the button on the Groups tab or selecting it from the Tools menu.
Step 2: Select the criteria you want to display from the list of options in the left pane. There are 6 categories of criteria (Field Information, Field Restrictions, Groups, Fertilizer Applications, Manure Applications, and Crop Management). Each category may be expanded to display more criteria. For instance, Field Information can be expanded to display Subfarm, Acres, and Slope, among other criteria. You may select any number of criteria.
Step 3: Click the Search button in order to display your fields and the criteria you have chosen in the right pane. Fields that do not have information for your selected criteria will not appear.
Step 4: Filter your fields down. You can click the ![]() button in each column header to get a list of filter options for that column. You can also sort from this button, to make viewing your results easier for you.
button in each column header to get a list of filter options for that column. You can also sort from this button, to make viewing your results easier for you.
Step 5:Once you have filtered your fields down, you may click the ![]() to create and save an Excel spreadsheet with your results.
to create and save an Excel spreadsheet with your results.
An Example
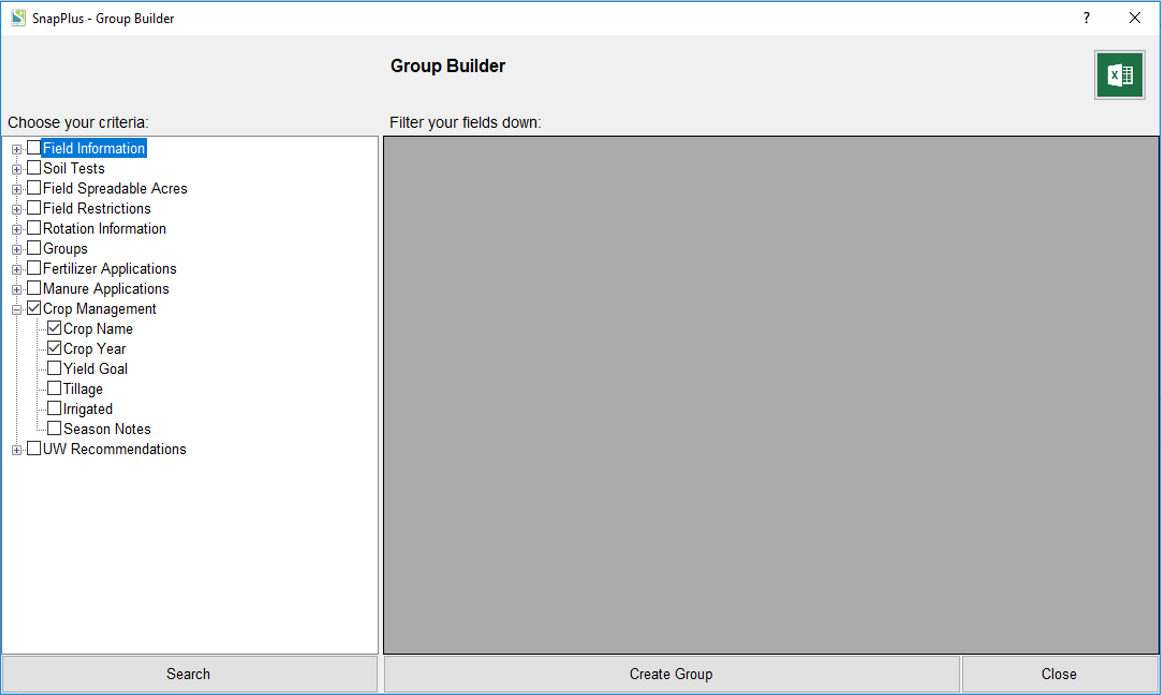
Let’s say I wanted to make a new group for all fields in which I am growing corn grain in 2017. I could open the Easy Group Builder and select the Crop Name and Crop Year criteria, located under the Crop Management category, as my filters. The screen would look like this:
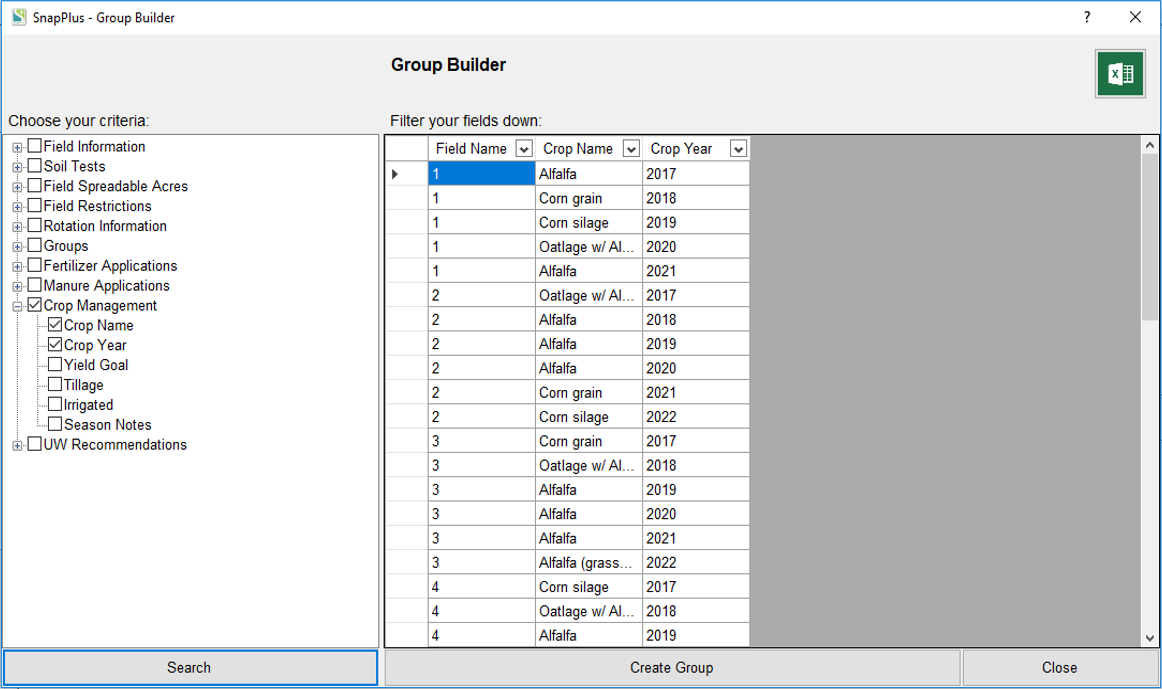
Next, I could click the Search button in order to display my filters. In the following screen shot, you can see that the columns "Field Name", "Crop Name" and "Crop Year" have appeared. since the primary object of the tool is to create groups of fields, the "Field Name" column will always appear. You can also see that there is a row for every crop I have planned in each year for every field.
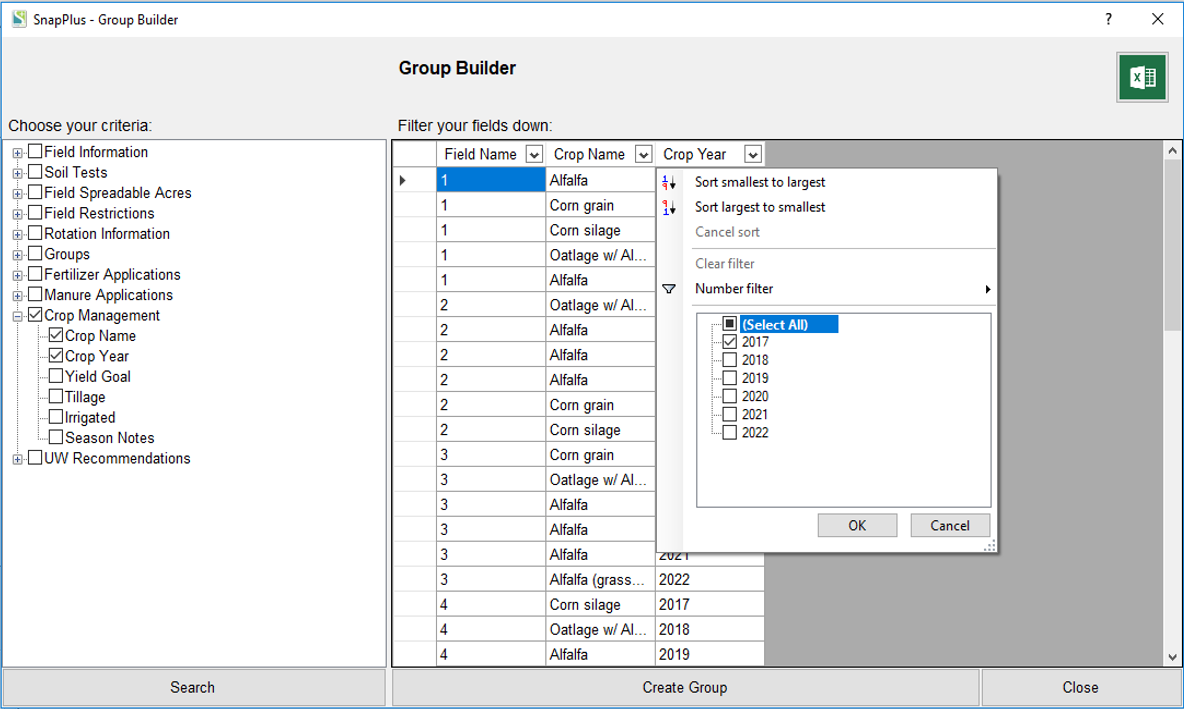
Since I only want the fields on which I am growing corn grain in 2017, I could click the ![]() button in the Crop Year column in order to filter to the year 2017. When I click the
button in the Crop Year column in order to filter to the year 2017. When I click the ![]() button, a window pops up giving me filtering options specific to that column. You can see that I have selected only "2017" below. Notice that I could also create a custom number filter by clicking on the "Number filter" menu item.
button, a window pops up giving me filtering options specific to that column. You can see that I have selected only "2017" below. Notice that I could also create a custom number filter by clicking on the "Number filter" menu item.
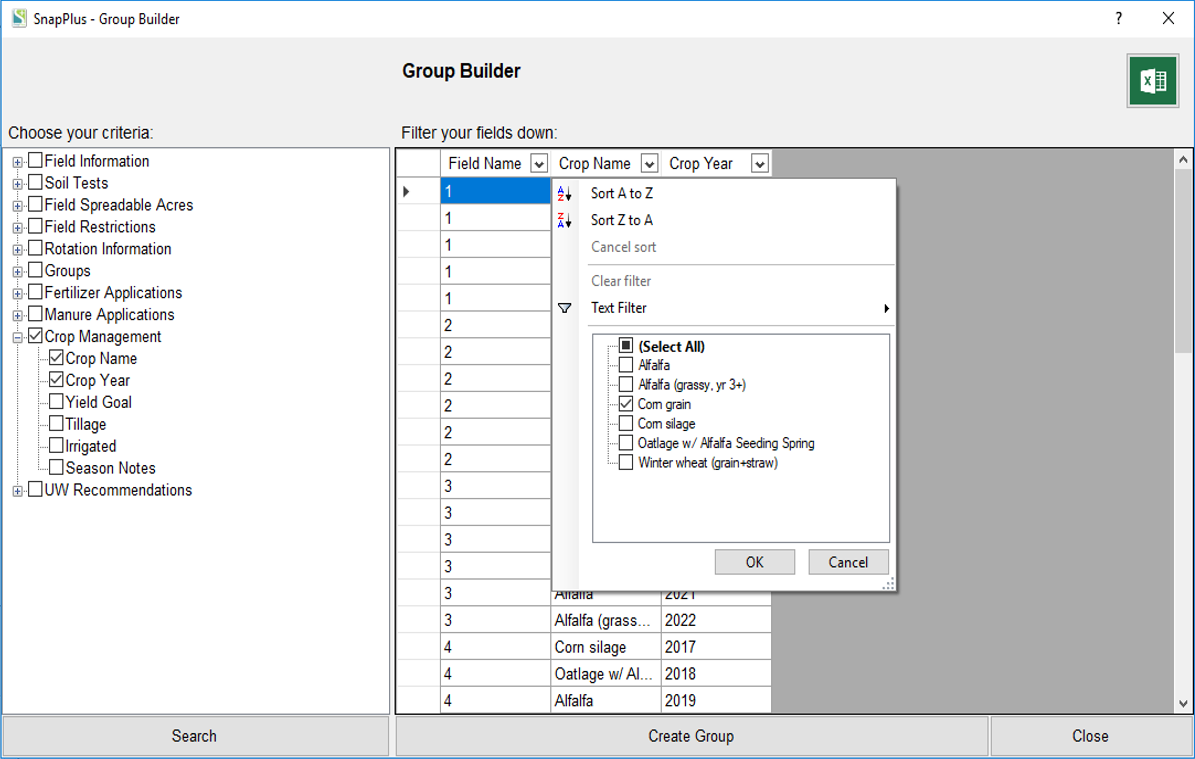
Notice that the number of rows has been filtered down in the following screen shot. That is because only the results with a Crop Year of 2017 are displayed. Since I still only want fields with a crop of corn grain in that year, I could click the ![]() button in the Crop Name column in order to filter to the fields with a crop name of “Corn grain”. Here, since the Crop Name column is a text column, I could also create a custom text filter by clicking on the "Text Filter" menu item.
button in the Crop Name column in order to filter to the fields with a crop name of “Corn grain”. Here, since the Crop Name column is a text column, I could also create a custom text filter by clicking on the "Text Filter" menu item.
As you can see from the following screen shot, I now only have 2 fields displayed. These are the only fields on which I am growing corn grain in 2017. I am ready to make my group.
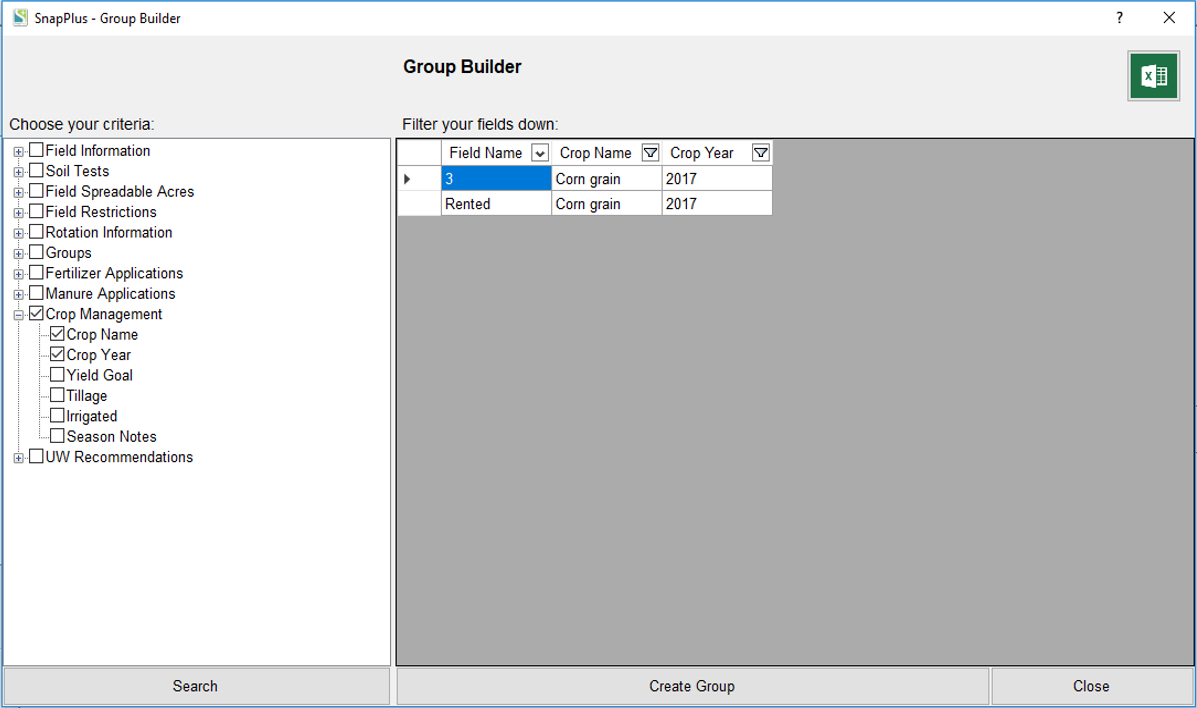
I could create a group with only those fields by clicking the Create Group button. I will give my new group the name "Corn Grain 17":

I could also save these results off to an Excel file by clicking the Excel button. Or, I could create a new group by searching for new criteria. If I had finished, I could close the window and continue working.