Creating a Map Using MS Word and the Snipping Tool |

|

|
|
Creating a Map Using MS Word and the Snipping Tool |
|
|
Creating a Map Using MS Word and the Snipping Tool |
|
|
|
Creating a Map Using MS Word and the Snipping Tool |
|
|
|
|
||
Using the Snipping Tool and Word to create a map can be useful if the customize pdf does not fit your needs or if you would like to create your own map. Users can also use the snipping tool to create their own legend by making snips of part of the legend from SnapMaps.
To start, open the map you would like to get a screenshot of. Then go to the Windows start button and type in Snipping Tool in the search. The Snipping Tool will come up in the search results. Click it to open the program.
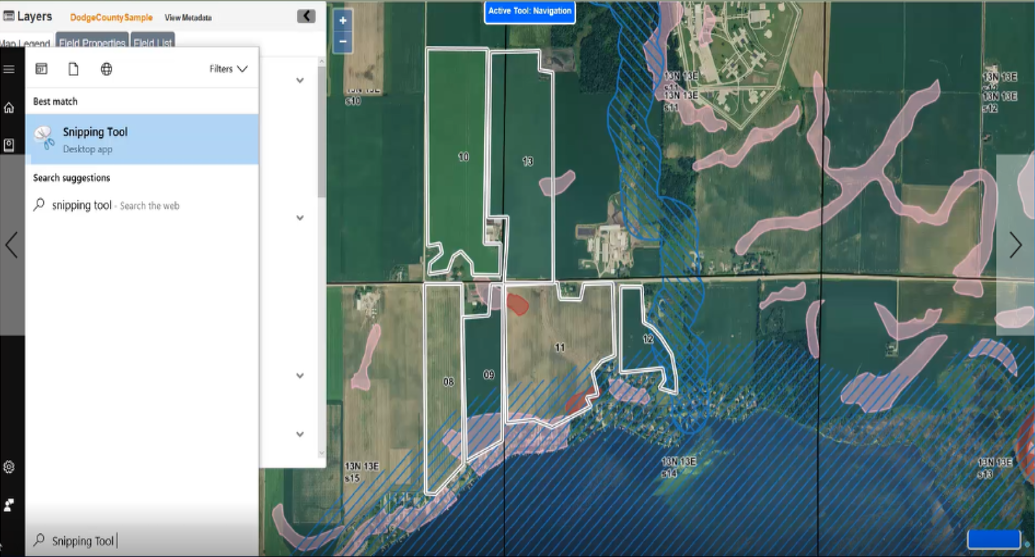
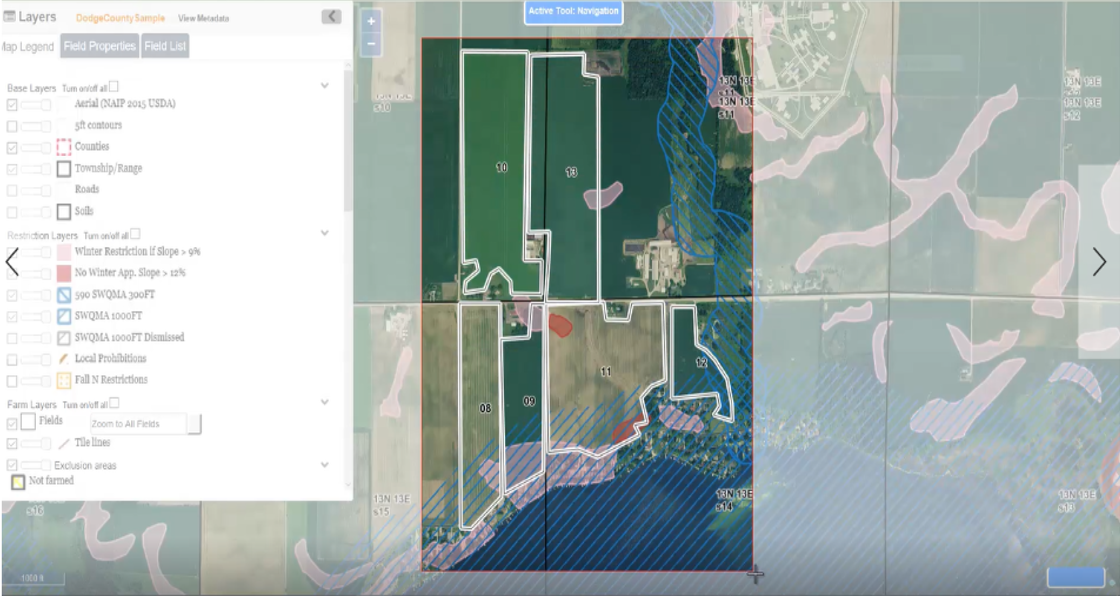
When taking a screenshot, click new. By clicking and dragging you are able to select the area within the rectangular box that you would like to create a map of.
After creating a snip, a snipping tool box will appear. If you would like to draw on the map or highlight something, a pen and highlighter are available.
![]()
After completing your editing, you can choose to either save the picture if you think you will be using this map again or to copy the picture, if you do not need a saved picture version. To save the map click save and navigate to the file you would like to save under. If you just want to copy the picture to a word document click copy.
![]()
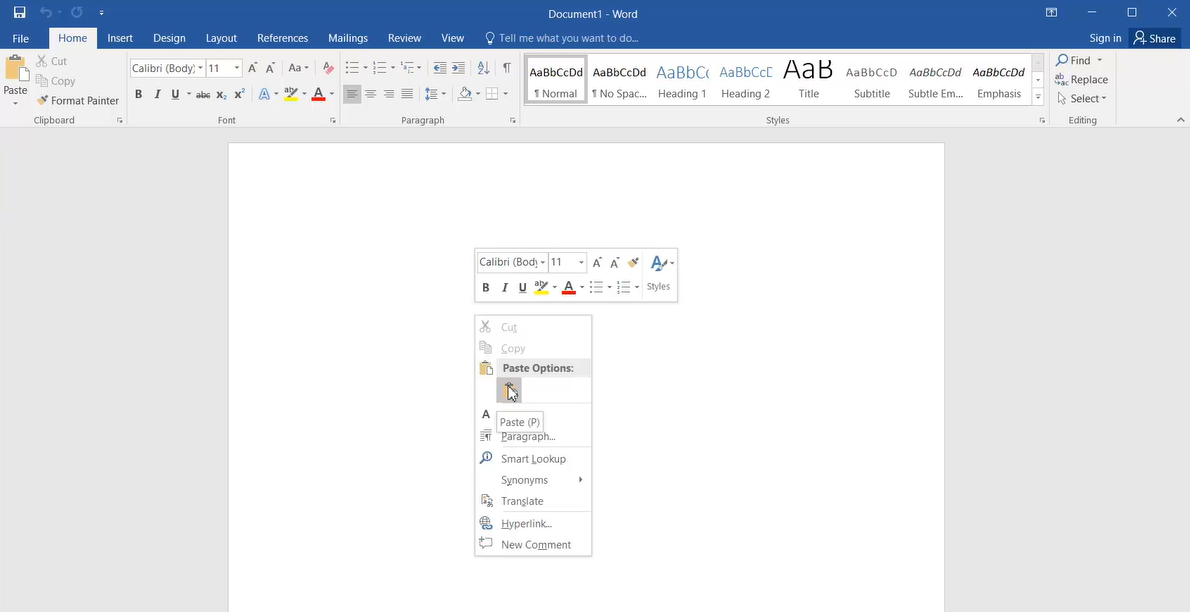
Open up a new word document. From here, if you copied the picture you can right click on the document and select paste to attach the map. The map will show up on the Microsoft document.
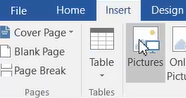
If you saved the map under a file, go to Insert | Picture. Navigate to the picture file in the open box. The map will be inserted into the Microsoft document.
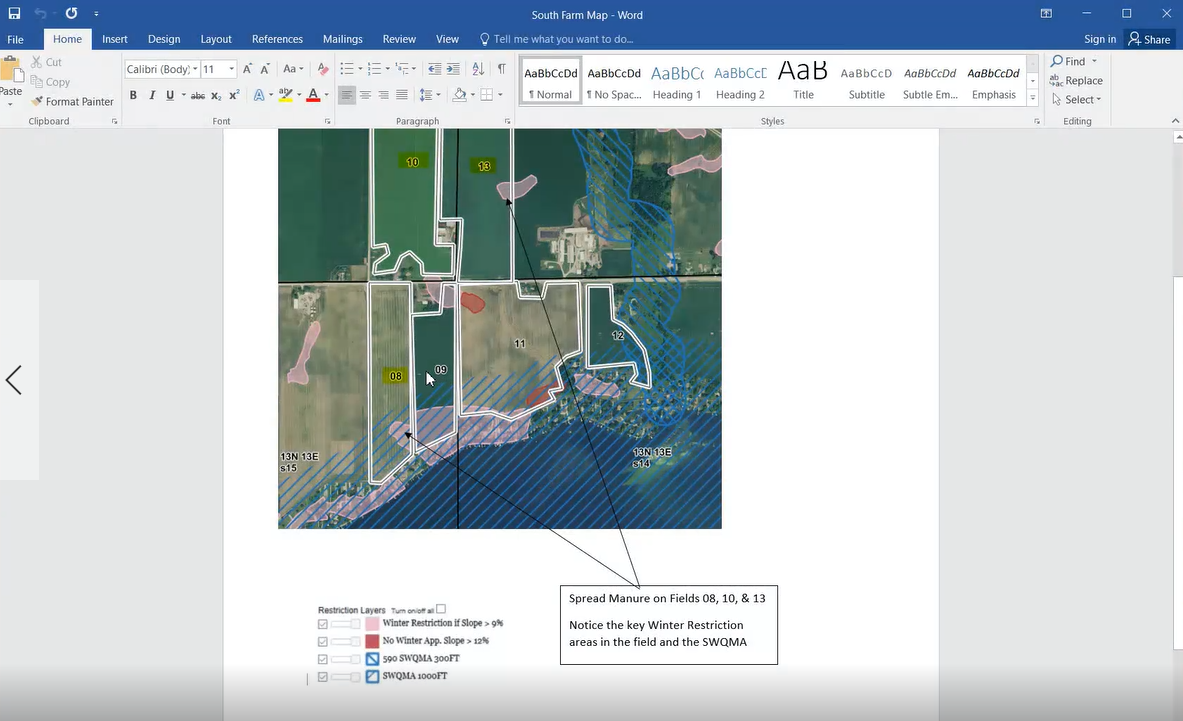
Having the map on a word document allows a user to write comments on the sides or draw arrows and shapes to highlight key areas on the field.
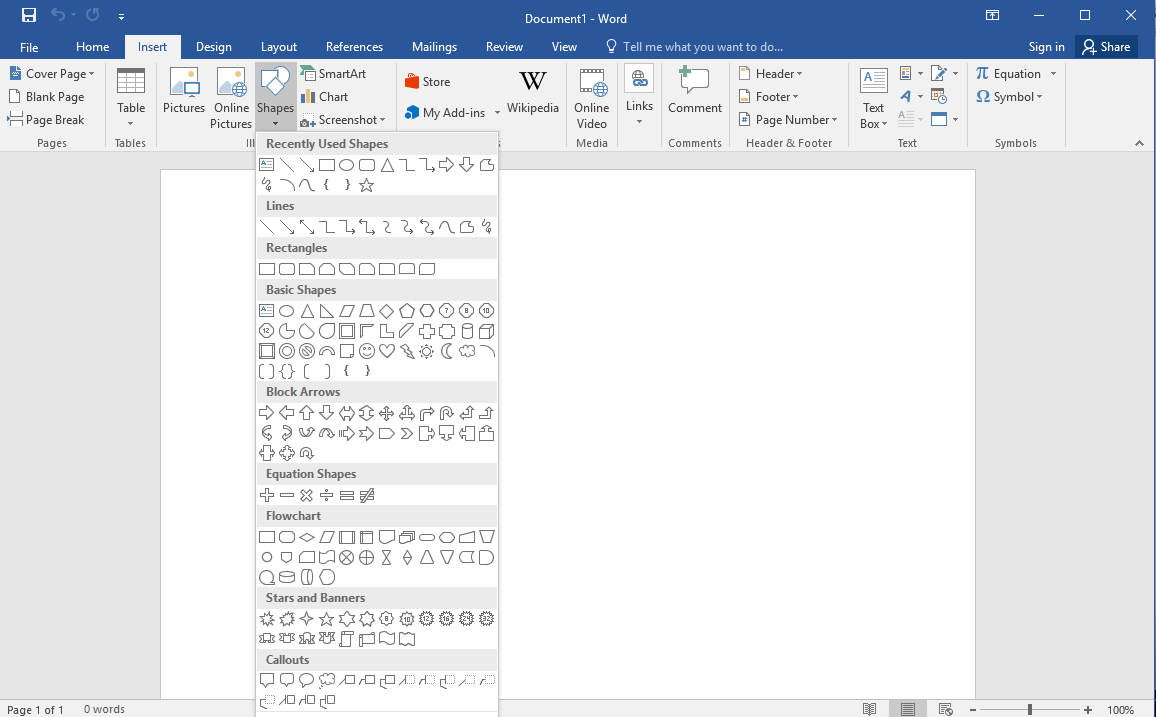
• To Add a Text box go to Insert | Text Box. Drag the box where you would like to place it on the document. You then can click in the box to write inside it.

•To draw arrows and shapes go to Insert | Shapes. Select the shape you would like to use and then drag it onto the map.
A user can also use the same process of snipping to create their own legend and copy this into the same word document with the map, as shown below.
Once you have added items you would like, save the word document to your computer and/ or print it out.
For more information on this topic, please refer to the tutorial Making your own Customized Map Using the Snipping Tool and MS Word.